


Learn how you can connect your data to a data table in Peaka and display it in your application
This article provides a step-by-step guide on how you can connect your data to a data table in Peaka, allowing you to display your data within your application.
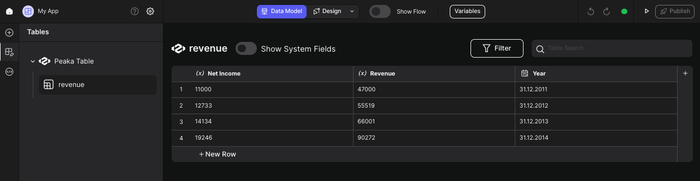
Before connecting your data to a data table, ensure that you have the necessary data source available. This may be a Peaka Table, Peaka Query, or a SaaS Connector. If you don't have the required data, you can follow these articles to create and configure your data sources:
Here's a step-by-step guide to connecting your data to a data table:
Prepare your data: Ensure that you have the data you want to display in your data table.
Access the designer: Open the Peaka Designer.
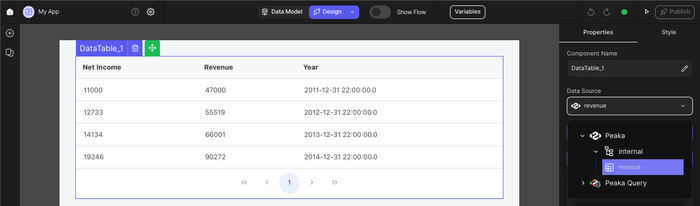
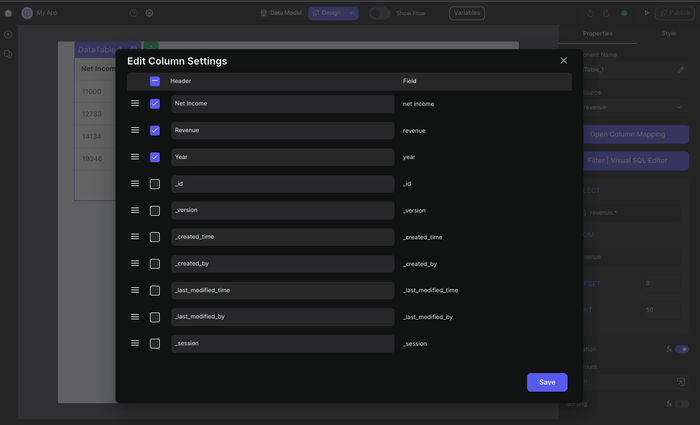
Add a data table component: In the designer, add a data table component to your application.
Select the data source: In the data table component settings, select your data source from the "Data Source" dropdown menu.
Review and confirm: Your data is now connected to the data table component. You can see your data displayed in the data table.

By following these steps, you can easily connect your data to a data table in Peaka, making it accessible and visible in your application.