doc-burger

Creating a Peaka Table

Learn how to create your first internal table in Peaka

This guide will walk you through the process of creating your first internal table in Peaka. Internal tables are a fundamental way of storing and managing data within your Peaka project.

Step-by-Step Guide

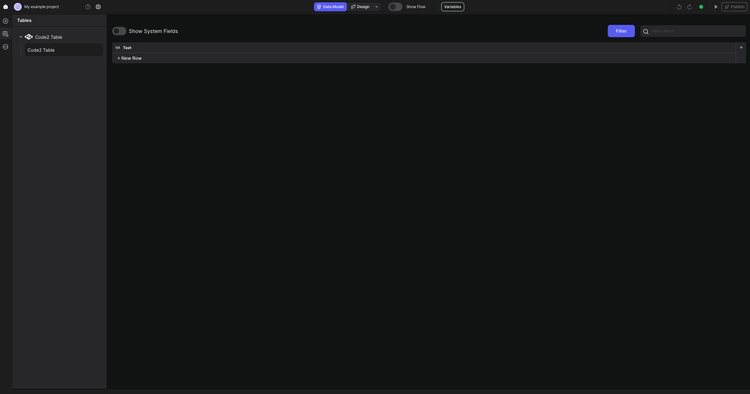
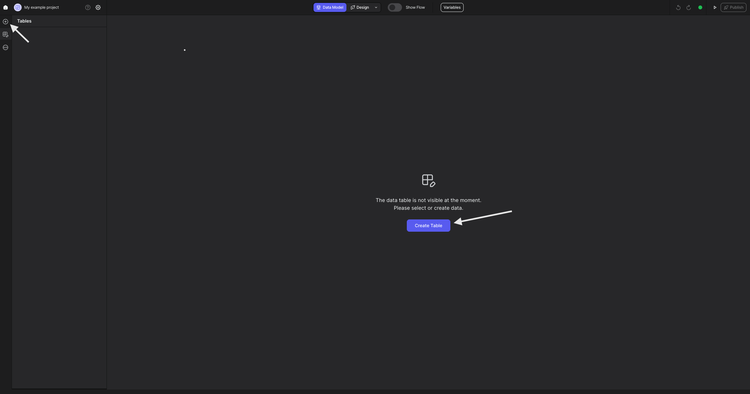
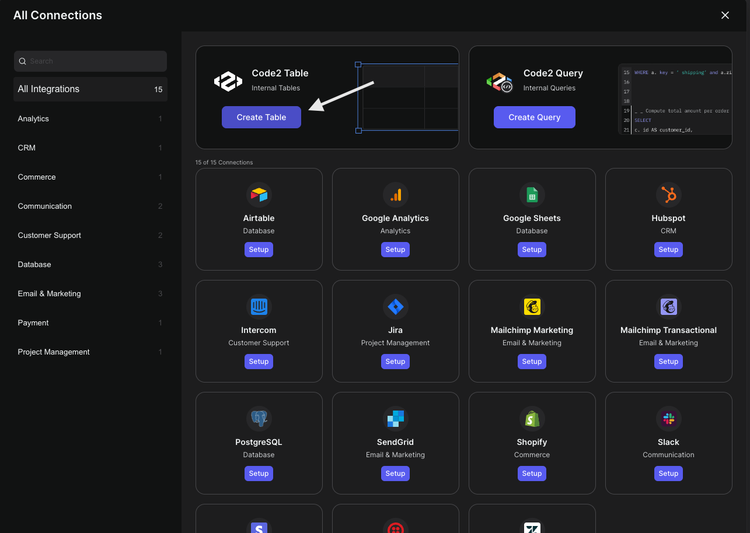
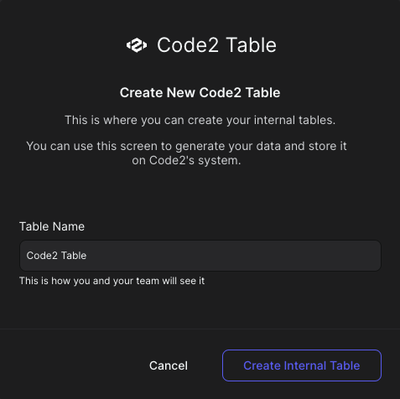
Follow these steps to create a Peaka Table:

  1. Switch to the 'Data Model' mode: Start by ensuring that you are in the 'Data Model' mode. If you're not already in this mode, use the switch button located at the top of the page to select it.
create peaka table buttons
  1. Access the 'Create Table' menu: Once in 'Data Model' mode, you'll see a set of buttons, as shown in the image below. Click on one of these buttons to access the 'Create Table' menu.
create peaka table button in a modal
  1. Define the table details: A popup will appear with options for defining your internal table. Provide a name for your table in the provided field. This name should clearly indicate the purpose or content of the table.
new created peaka table data

Congratulations!

You have successfully created your first internal table in Peaka. This table serves as a vital component for storing and managing data within your project.

You can now proceed to populate the table with data, define its structure, and perform various data operations to meet your project's needs.

create-table