This article explains how you change the name of your flow in three steps in Peaka.
Changing the Flow Name
Follow these simple steps to change the name of your flow:
-
Show your flow: First, ensure that you have a flow to work with. If you haven't created a flow yet, you can refer to the article on How to create a flow for guidance.
-
Mouse over the flow name: Navigate to the flow you want to rename and hover your mouse cursor over its name. When you do this, an edit button will appear next to the flow name.
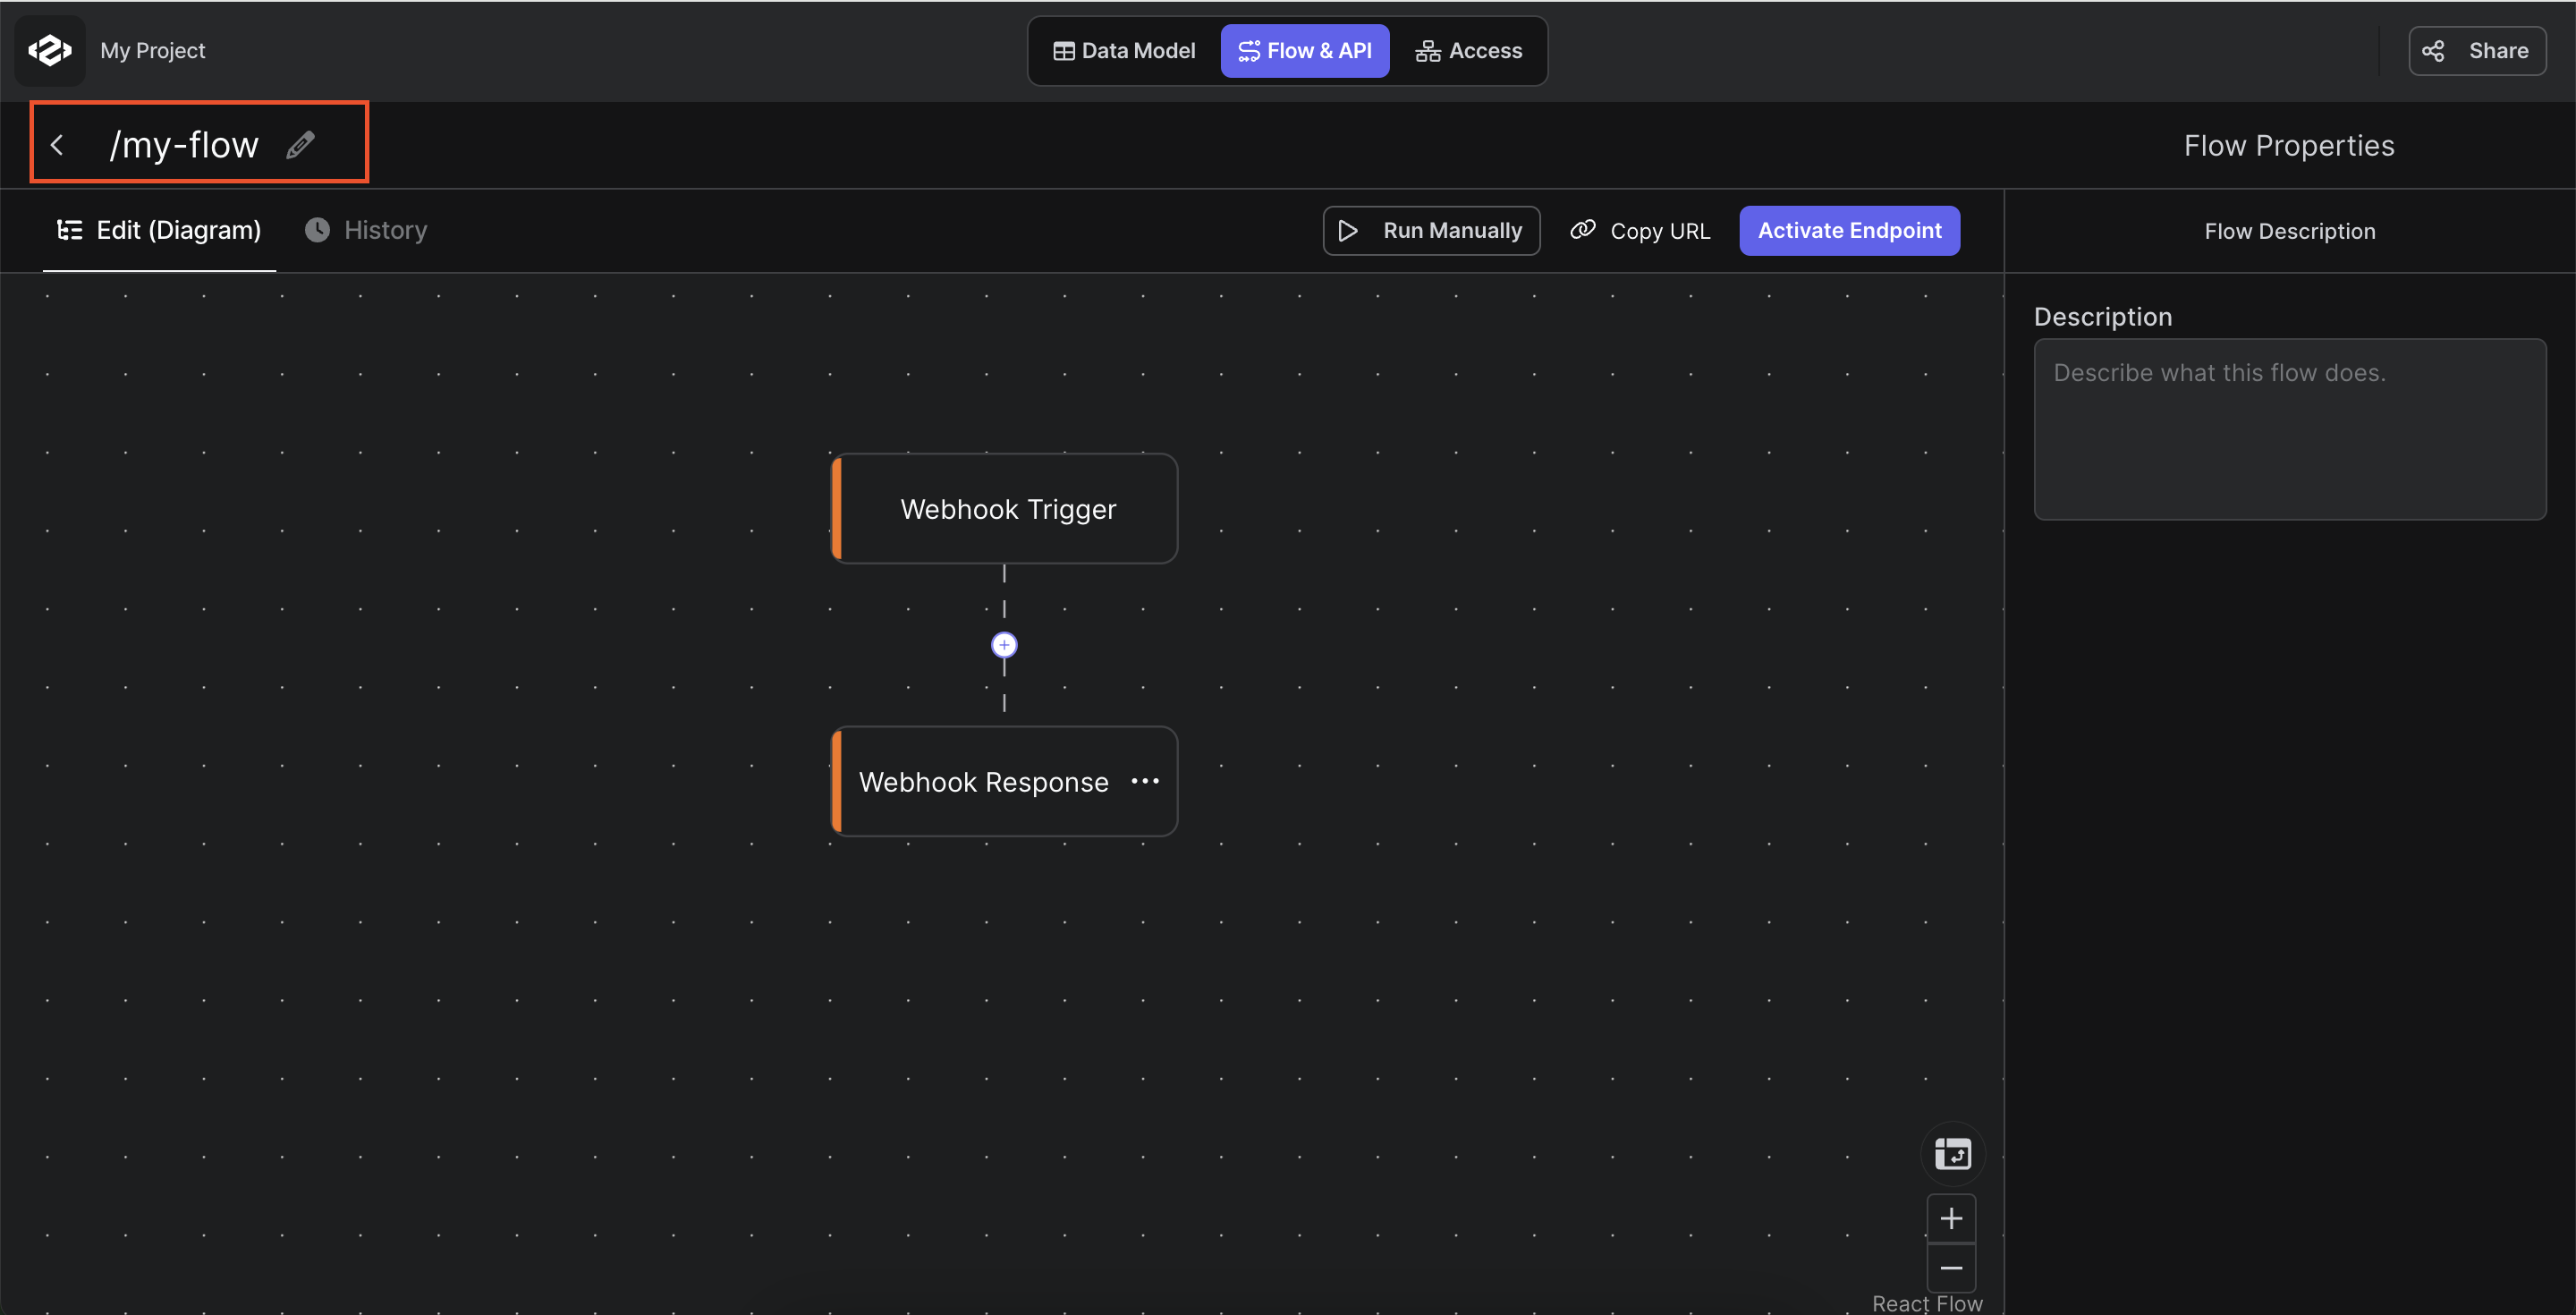
- Edit the flow name: Click on the edit button to initiate the renaming process. This action will allow you to enter a new name for your flow, as shown in the image below.
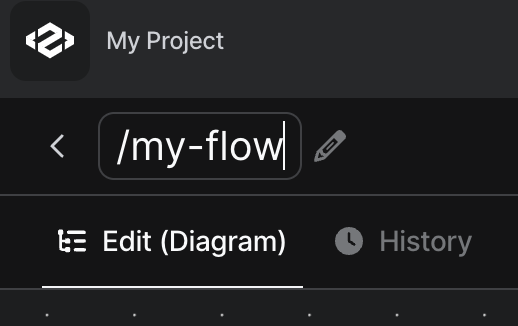
- Confirm the new name: After typing the desired new name for your flow, simply press the "Enter" key to confirm the change.
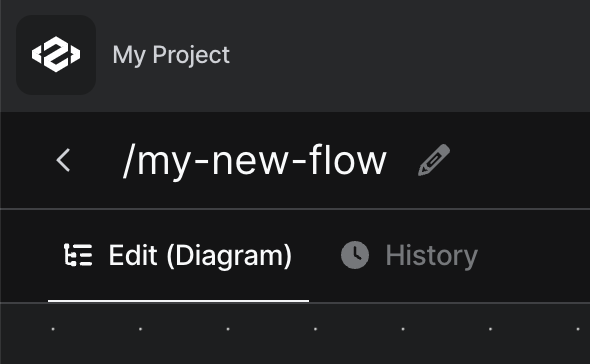
That's it! You have successfully updated the name of your flow to better suit your needs. Renaming flows can help you keep your workspace organized and ensure clarity when working on your projects.