This guide explains how you can collaborate with friends and colleagues on Peaka by sharing your project with them. When you share your project, others can make changes, and you'll be able to see those changes.
Sharing Your Project
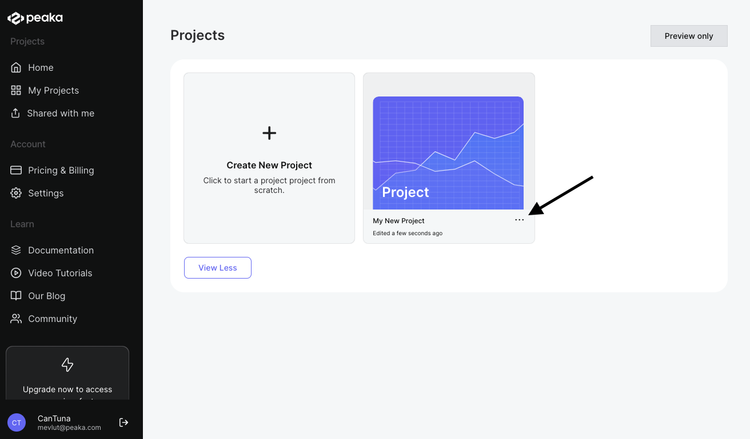
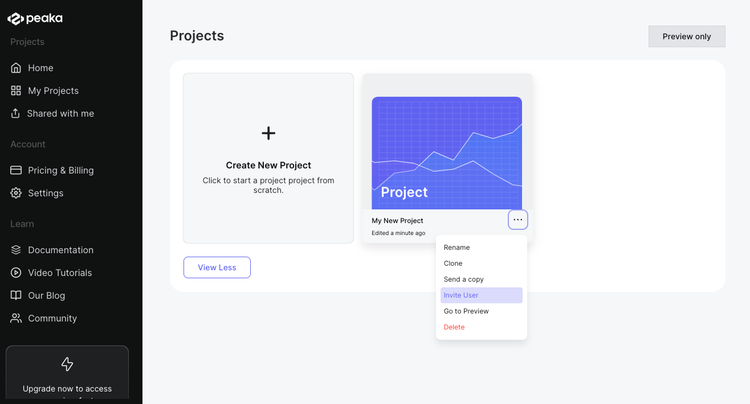
- Access the project menu: To begin sharing your project, locate the project you want to collaborate on. Click on the three-dots button (ellipsis icon) associated with the project to open the project menu.
- Select 'Invite User': In the project menu, you'll find the 'Invite User' option. Click on this option to initiate the sharing process.
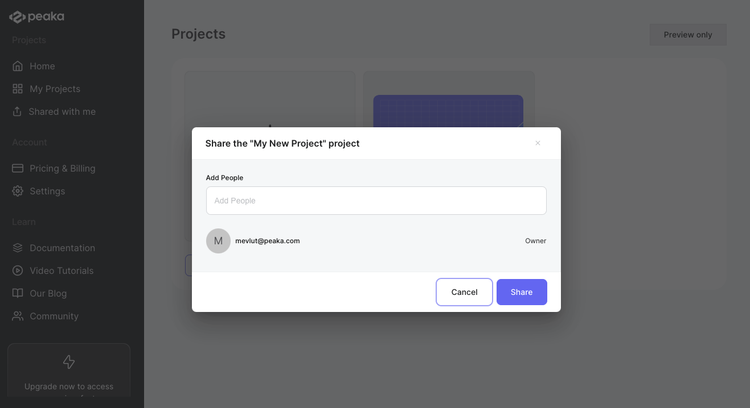
- Manage the invited users: After clicking 'Invite User,' a popup will appear, displaying the names of all invited users, including those who may be pending or have already accepted your project invitation.
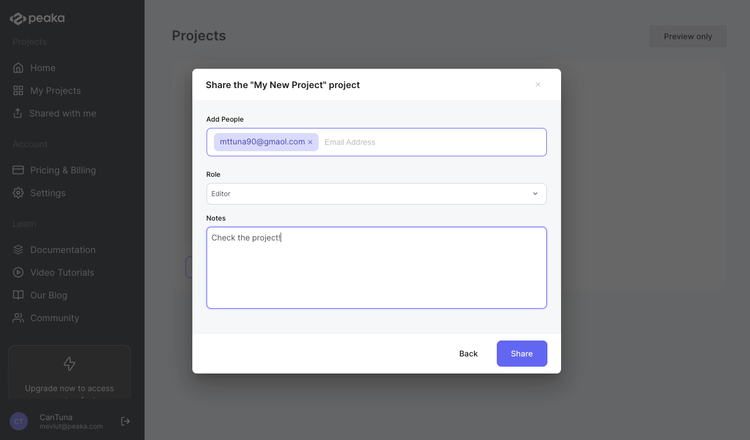
- Add collaborators: Click the 'Add People' button and enter the email addresses of the individuals you want to invite. Press 'Enter' after each address. You can also add any notes or messages in the space provided.
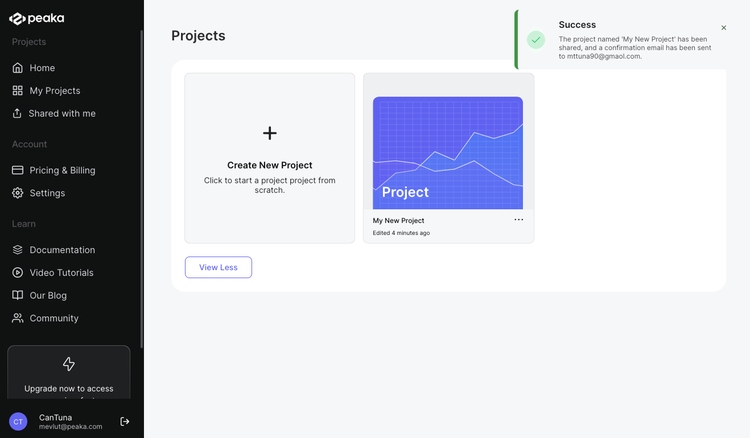
- Share your project: Once you've added the desired collaborators and messages, hit the 'Share' button to share your project with your friends and colleagues.
Receiving and Managing Shared Projects
The recipient of the project invitation will receive a notification and have the following options:
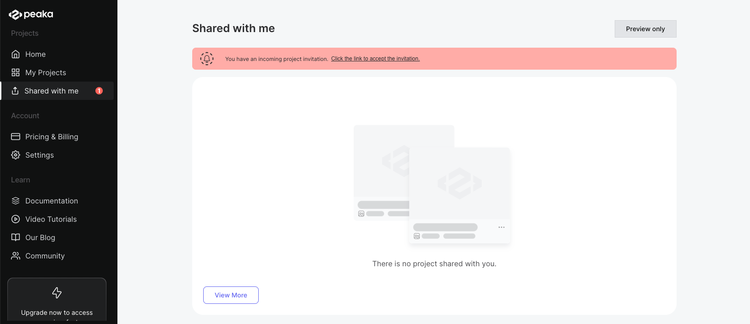
- Notification on 'Shared with Me' page: The recipient will see a notification on their 'Shared with Me' page, indicating they have received an invitation to join your project.
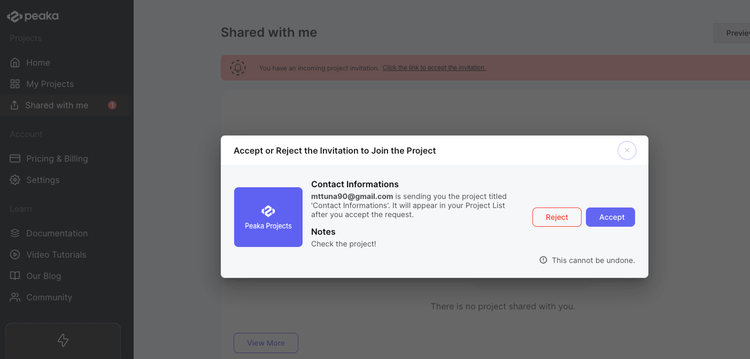
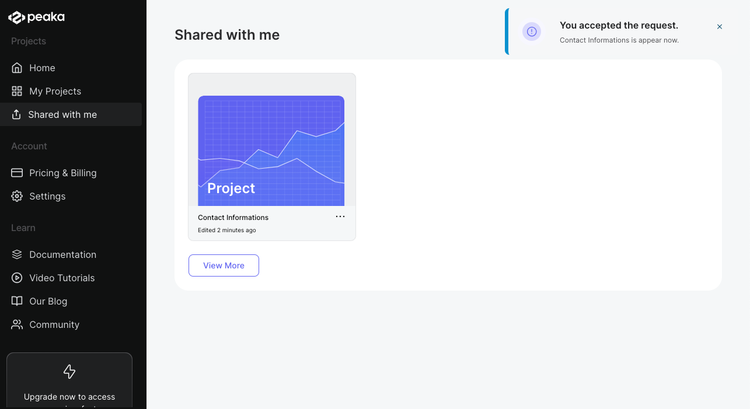
- Accepting the invitation: If the recipient accepts the invitation, the project will be added to their 'My Apps' page. They can now edit the project, and any changes made will be visible to the project owner and other collaborators.
- Rejecting the invitation: If the recipient declines the invitation, it will be removed from their list of shared projects.
By following these steps, you can easily collaborate with others on Peaka by sharing your project.