


Discover a seamless integration process! Learn how to connect Zendesk to Peaka effortlessly for streamlined transactions.
This article guides you through the process of connecting Zendesk to Peaka, allowing you to seamlessly access your Zendesk data within the Peaka platform.
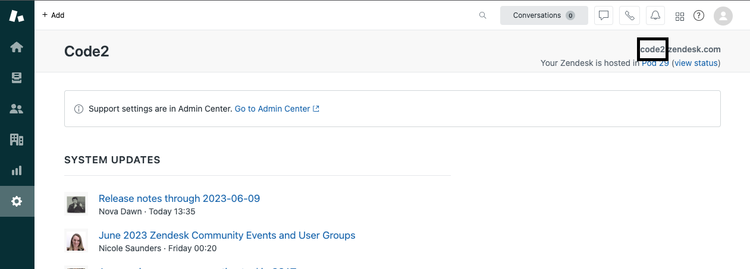
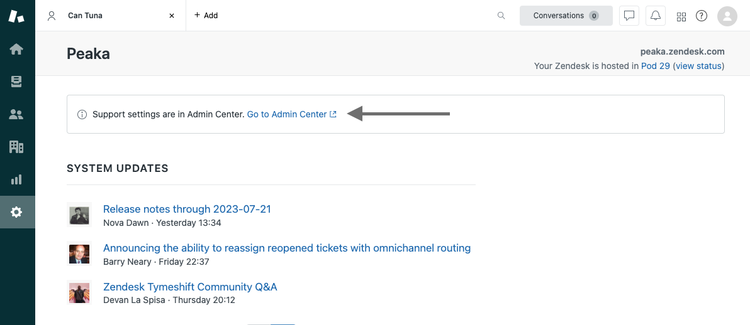
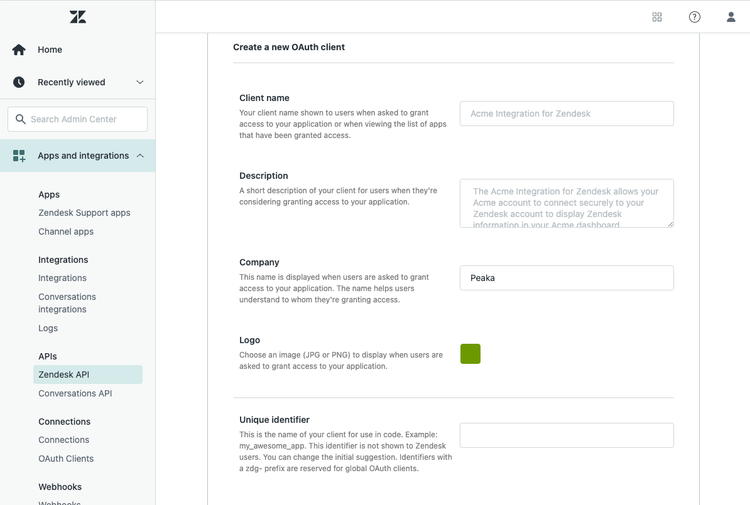
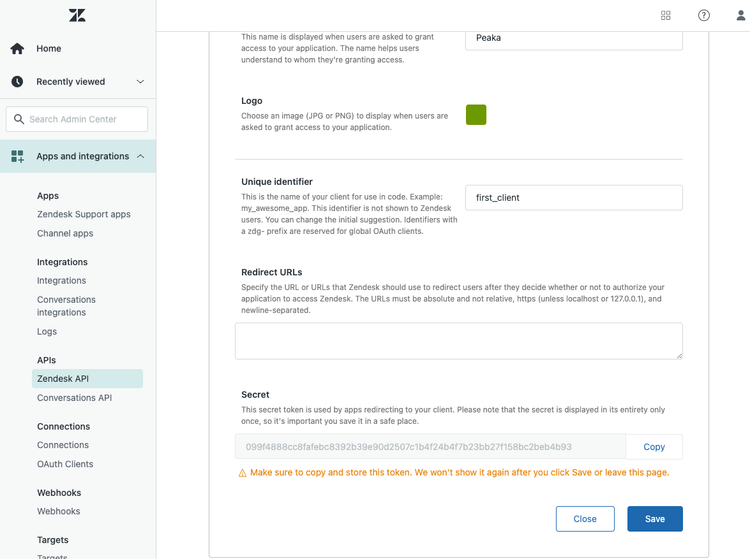
Before you start, you will need the following information from Zendesk.
Follow the steps below to obtain it:
Go to Zendesk website and sign in to your Zendesk account.
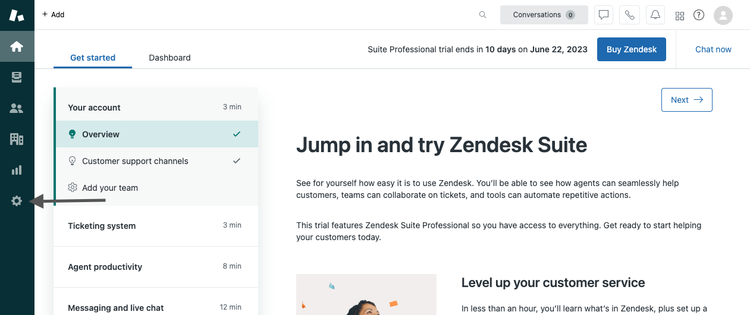
Click on the settings icon, as shown in the image below, to access your account settings.
Now that you have your requirements, you can connect it to Peaka using the following steps:
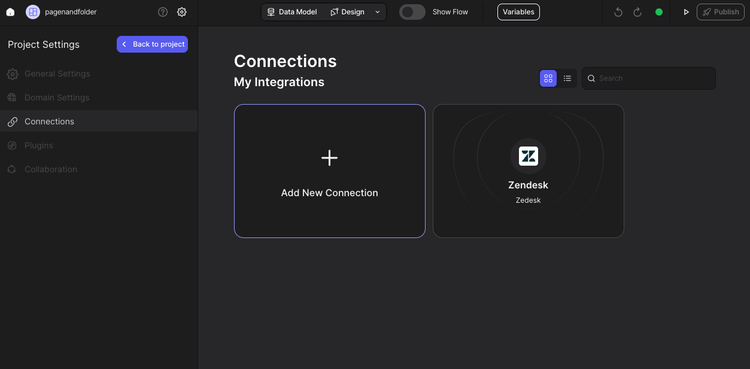
Navigate to the settings page in Peaka.
Click the "Add First Connection" button to initiate the connection process.
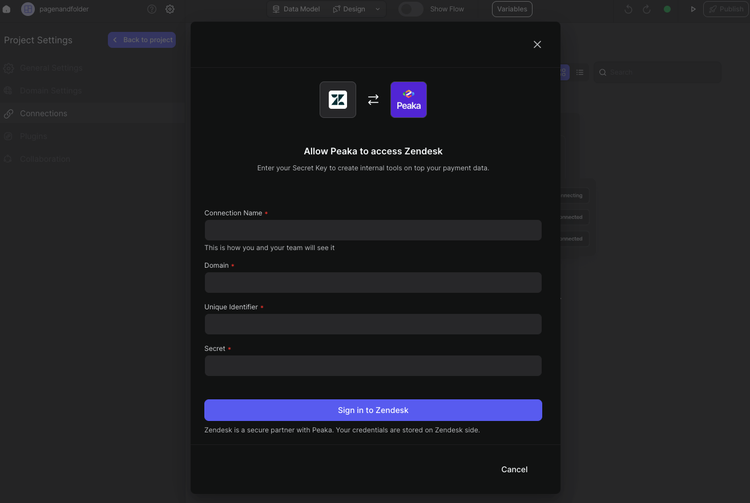
In the modal that appears, select "Zendesk" as your connection type.
Enter your connection name and other requirements.
Congratulations! You've successfully created a connection between Zendesk and Peaka. You can now access and manage your Zendesk data seamlessly within the Peaka platform.