This article guides you through the process of connecting Quickbooks Online to Peaka, allowing you to seamlessly access your Quickbooks Online data within the Peaka platform.
Prerequisites
Before you start, you will need the following information from Quickbooks Online.
- Client ID (required for advanced authentication)
- Client Secret (required for advanced authentication)
Follow the steps below to obtain it:
- To obtain the Client ID and Client Secret, go to the article.
Connecting Quickbooks Online to Peaka
-
Navigate to the data model page in Peaka.
-
In the side menu bar, click the "New Data Source" button to initiate the connection process.
-
In the modal that appears, select "Quickbooks Online" as your data source.
-
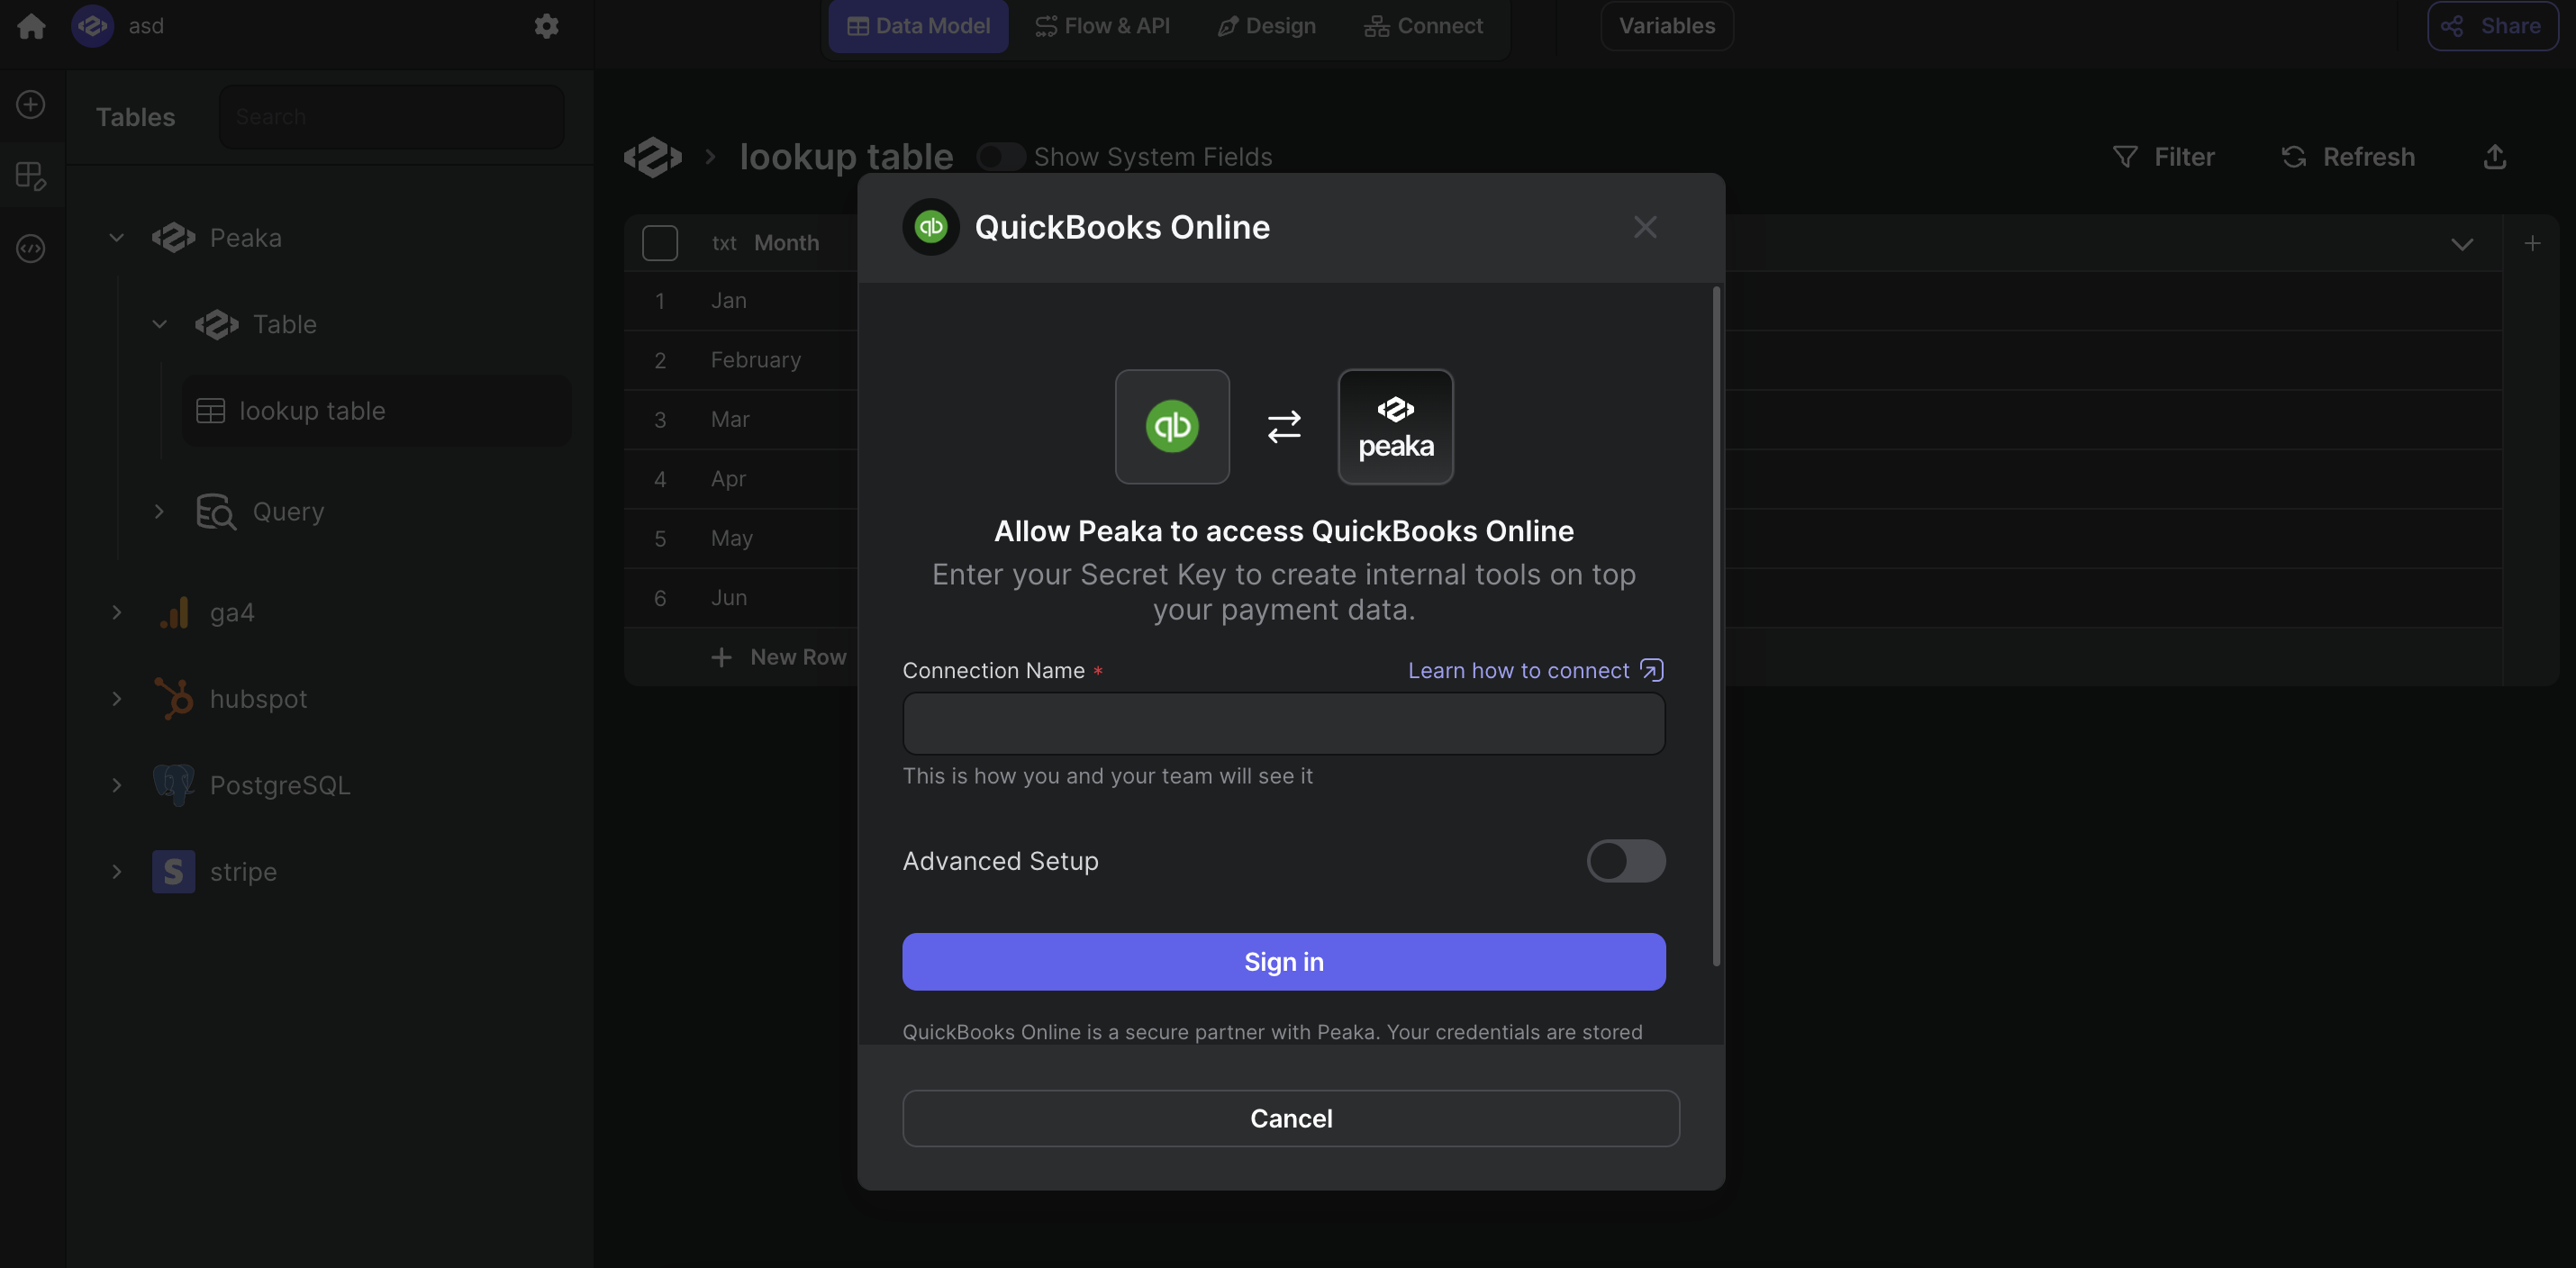
Enter a name for your data source and input credentials you obtained in the previous step.
-
Click "Sign in" to create your Quickbooks Online data source and allow Peaka access to your Quickbooks Online account.
Congratulations! You've successfully connected Quickbooks Online to Peaka. You can now access and manage your Quickbooks Online data seamlessly within the Peaka platform.