doc-burger

How to rename a project in Peaka

Get started with Project Operations: Learn how you can change the name of your Peaka project.

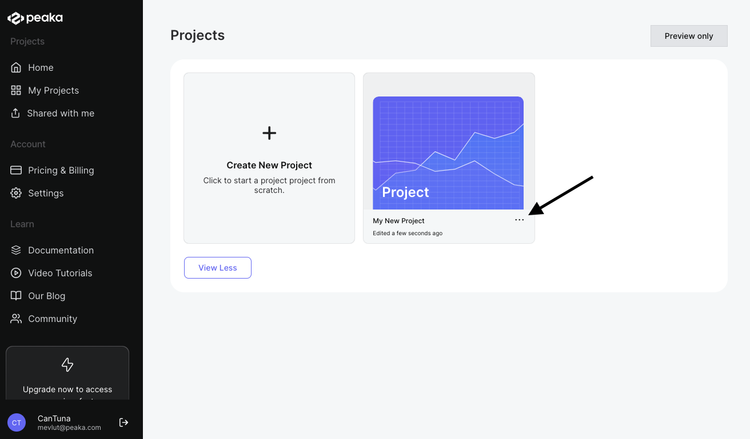
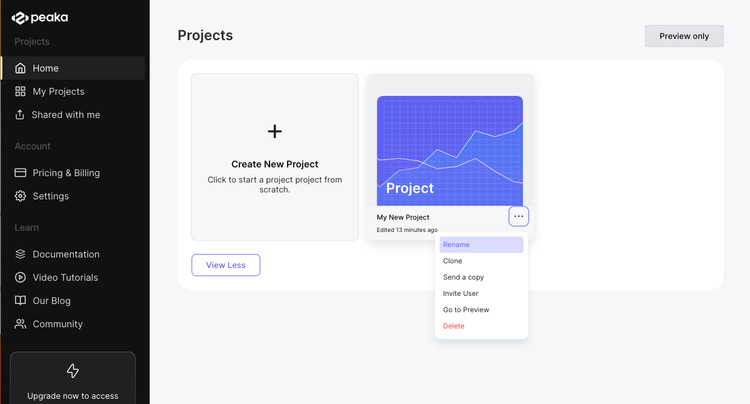
This guide will walk you through the process of renaming a project in Peaka. Follow these simple steps to update the name of your project:

  1. Access the project menu: To start renaming your project, find the project you want to update and click on the three-dots button (ellipsis icon) associated with the project. This action will open the project menu.
open context menu of app view
  1. Select 'Rename': Within the project menu, locate and click the 'Rename' option. This will initiate the renaming process.
rename button in context menu view
  1. Edit the project name: A popup window will appear, allowing you to edit the name of your project. Enter the new name you've chosen for your project in the provided field.
rename project modal view
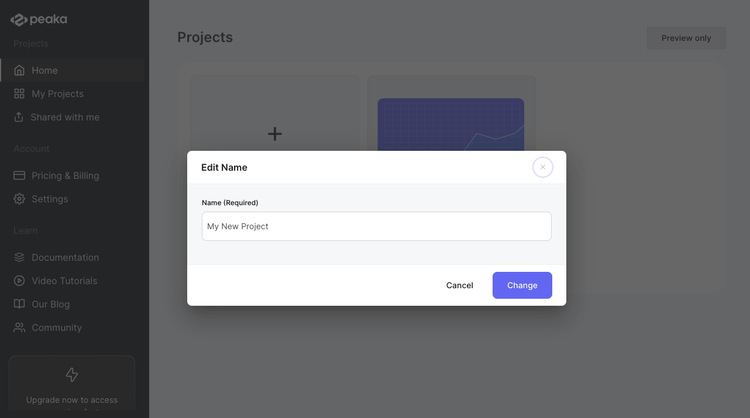
  1. Confirm the change: After entering the new project name, click the 'Change' button to confirm and apply the name change.

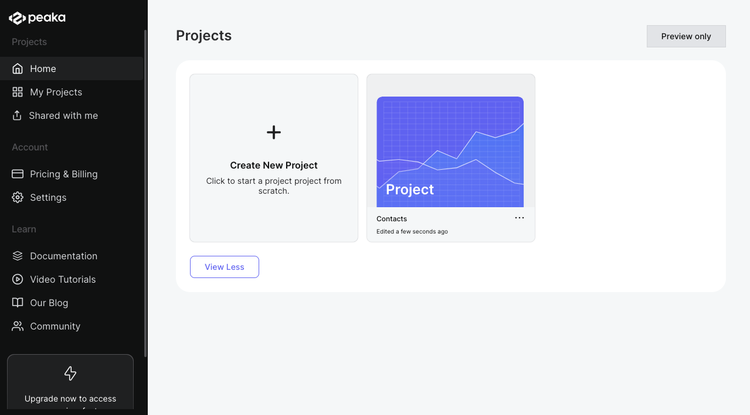
  2. Name successfully changed: Your project's name will now be updated with the new name you provided. You'll see the new name displayed within the Peaka interface.

success renaming project view

By following these steps, you can easily rename a project in Peaka.

X
    Content